
Version 1: This is the picture as I first show it, with no edits. The sky is washed of its actual vivid colors.
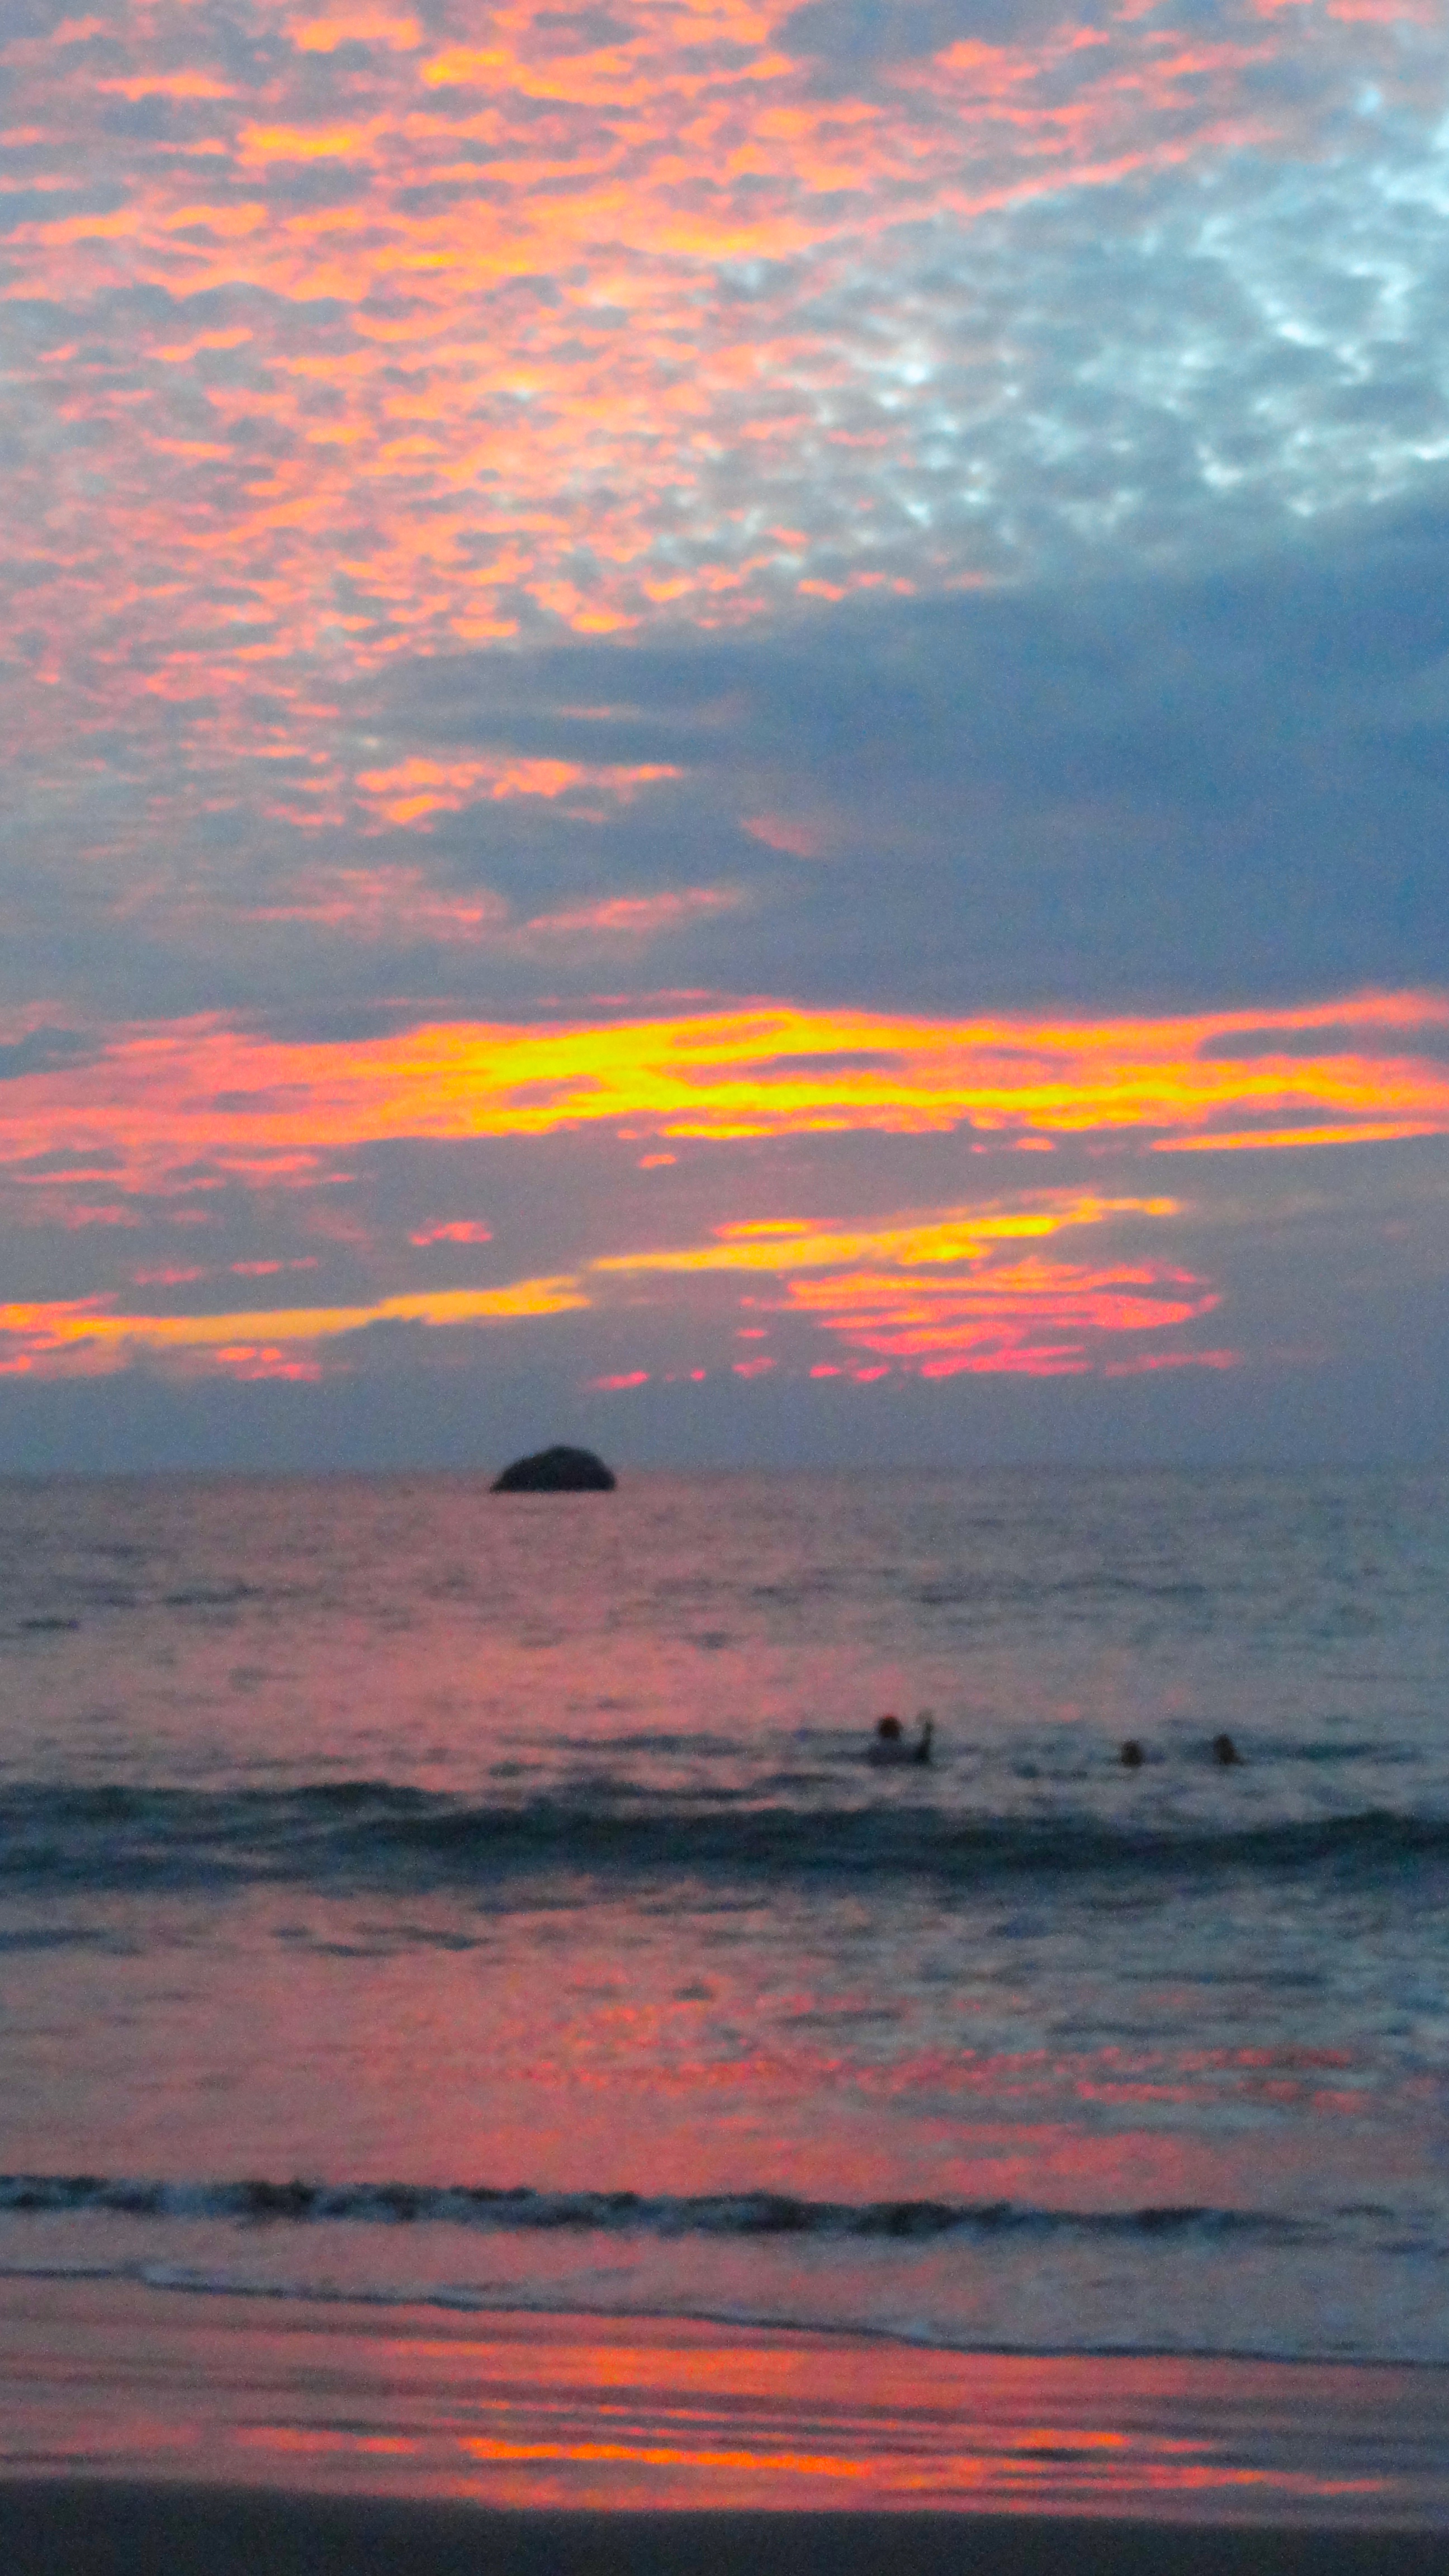
Version 2: Hoping to recapture the actual colors of the sunset that were washed out in my original picture, I increased the saturation to 100. This looks exaggerated, but it is much closer to the actual vibrancy of sunset than the original had captured. It has been suggested that I should have used a sunset setting, which I will try next time.
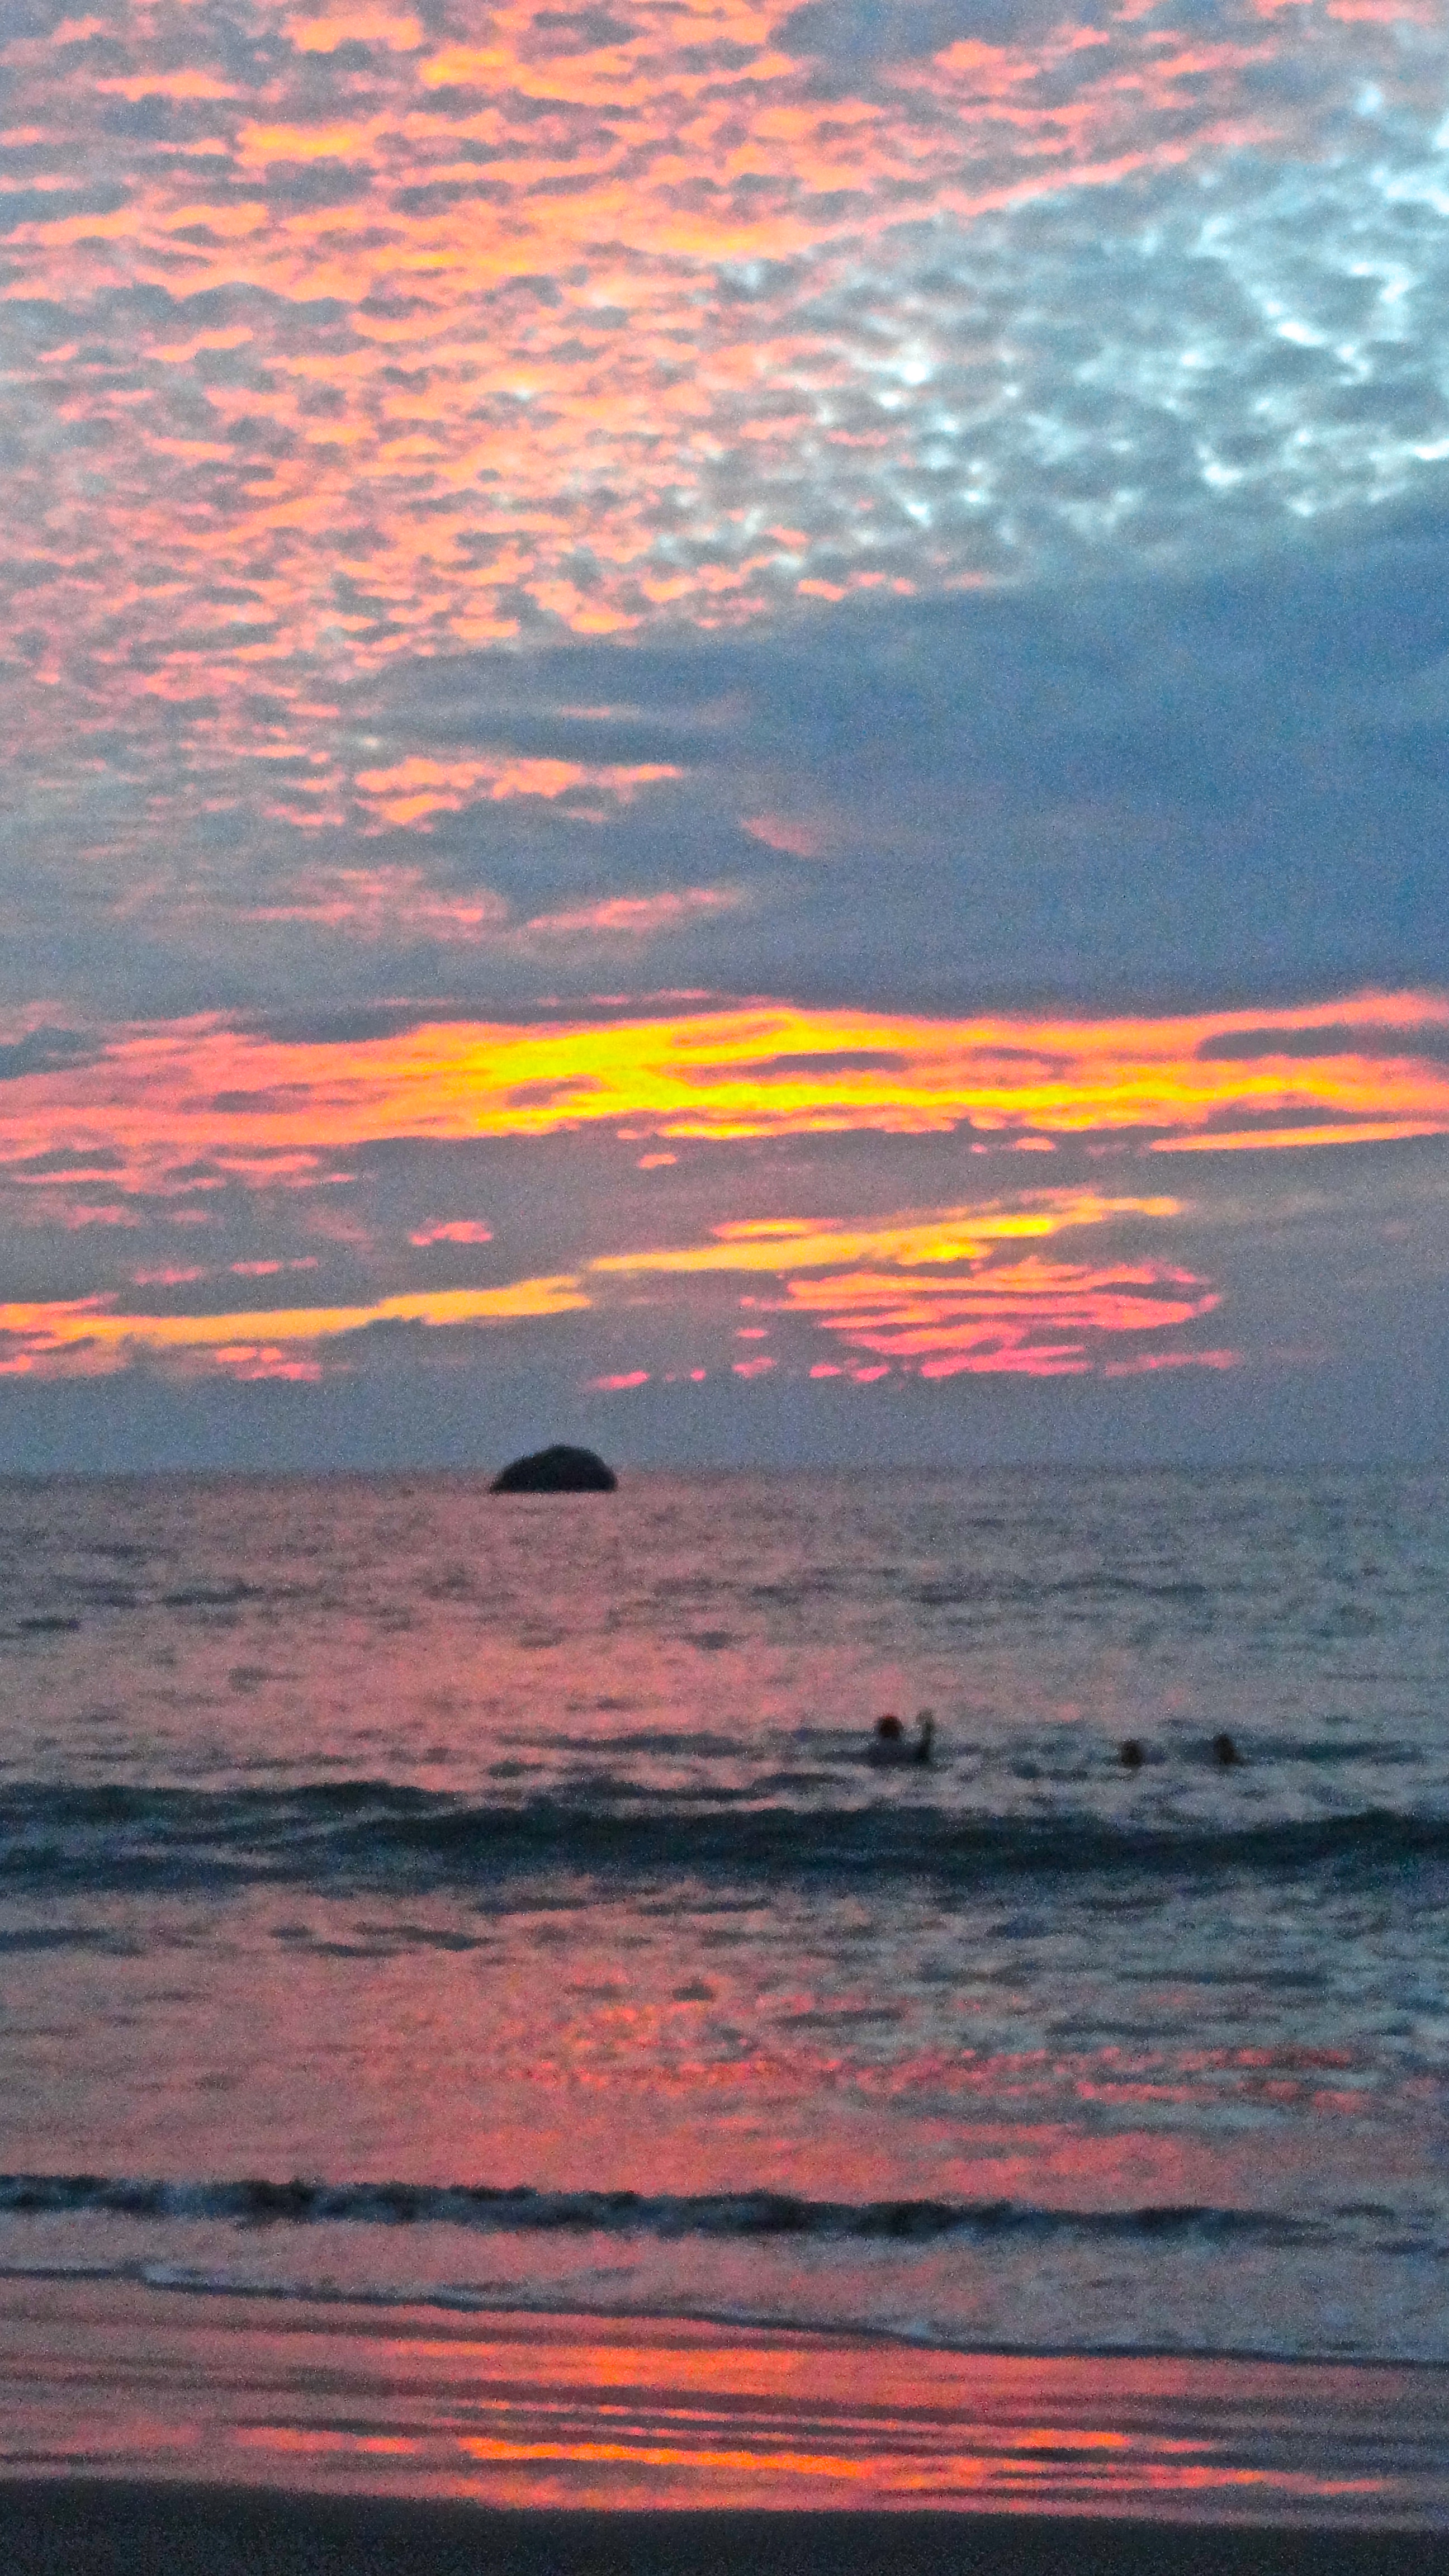
Version 3: This version is just like version 2 except i increased the sharpness to 100 percent.
I didn’t realize until after I posted that week 1 was supposed to show the first edit of the photo, so I have shown both first and second edits in week 2.
To read about this photo challenge, go here:
https://robynsfineart.wordpress.com/2015/03/09/one-four-challenge-march-week-2/

I love the colors on the water, they are really nice. Those nights when the sky lights up pink like that it is quite a sight. Lovely subject to work with for a month.
LikeLiked by 1 person
Thanks, Carrie. Fun to play with images.
LikeLiked by 1 person
The sharpening was needed to firm up the details and has worked. the problem with sharpening is that it is a double edge sword in sharpening some digital noise has come to the surface. May I suggest noise reduction in the next edit combined with the sharpening you did this week.
LikeLike
I’ve never had much luck with noise reduction, but I’ll take your advice..and see what happens…I appreciate any tips, so keep them coming…I’ve been told by one friend that her instructor in photoshop told them never to sharpen..that it never accomplished the required result. In the past I oversharpened and had edges to my objects. I’ve tried to resist since then. Interested in if you agree with my friend’s instructor. Again, thanks…Judy
LikeLike
Your friend put it quite simply, you can’t sharpen something out of focus. All images do need sharpening for capture to counter softening of an image when photographed and for output because you need to counter softening in printing and digital displays.
I would apply some gentle noise reduction first and then sharpen. When reducing noise you need to not remove all noise but just enough to not have it being a distraction.
LikeLiked by 1 person
You have hit the nail on the head. I do tend to overdo all my editing tasks..I’d never thought to de-noise before I sharpen…and I’ll try to use a lighter foot on the gas next time. I really do appreciate your advice, Ben. Thanks. Judy
LikeLike
I agree with Ben, sharpening an out of focus image seems to add more noise. But I do like the sunset tones. You have given yourself a hard challenge this month!
LikeLike
Actually, I believe I’ve stumbled upon an excellent way to glean photo advice by my favorite method. I’m unfortunately just not inclined to read instructions nor take classes, but I love learning things by experience, and by publishing photos with problems, I seem to be getting all this good advice. Thanks for both your interest and your pointers. I promise not to overuse my new insight. Judy
LikeLiked by 1 person
Judy sounds like some wonderful ideas here for you to try out.
The richer colours are great – Nature is amazing!
Look forward to seeing your next experiments 😃
LikeLike